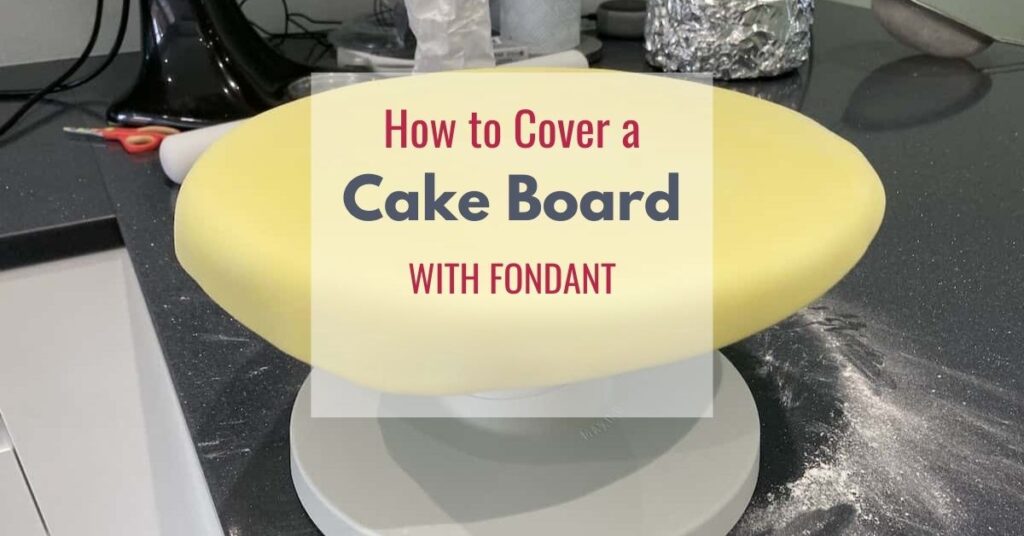
HOW TO FINISH OFF YOUR CAKE PRESENTATION LIKE A PRO
I believe a cake board with fondant is the extension of your cake. So, if your cake has taken you a long time to decorate and you want to show it off, why not decorate the cake board too? It really does finish a cake off.
ADD A MESSAGE TO THE CAKE BOARD
A cake board is perfect for adding a message. You can continue your design or theme from the cake through to the board. Or do something completely different to the board!
There are many different and easy ways to decorate your board. Cut out lettering, embossed lettering, using texture mats and textured rolling, ribbon around the board with or without a bow - all that will create a show-stopping effect. I promise you the end result will be spectacular!!!
In this article, I will show you how to simply cover a cake board.
If you don’t feel brave enough to cover your board today, then perhaps just buy a coloured cake board which will give your cake a little added wow!
EQUIPMENT NEEDED
- Cake board
- Rolling Pin
- Knife
- Fondant smoother
- Rolling mat (useful if you have one)
- Guider rods (optional if you have them)
Tip
Chose a cake board that will be big enough to place your cake and leave room for your lettering, models and / or other decorations.
Tip When you have covered your board, it is important that you leave it to dry overnight or if
you do not have enough time, at least a couple of hours in your airing cupboard. This gets
the board time to set so that it doesn’t get easily dented when you touch it or when you put
your cake on it.
INGREDIENTS
- Fondant (please see link to how much fondant do I need to cover a cake and board)
- Icing sugar
- Colouring gel (optional - (please see link to how to colour fondant)
- Water
- Pastry brush (useful if you have one)
INSTRUCTIONS
- Wash your hands and clean all your surfaces. Make sure the worksurface is dry too. This is most important in your preparation step to remove any dirt or crumbs. Otherwise, it will make your fondant covered cake look dirty. Fondant is quite static so it picks up dirt & crumbs from your hands and surface
- Knead your fondant (sugarpaste) until it’s pliable (no cracks or splits just lovely and soft and easy to roll out). You can also add colour at this stage if you wish. Do not over knead or stretch your fondant as you will end up adding air bubbles to overworked fondant
- Roll out your fondant onto your worktop or use a rolling mat if you have one. (If you do have one, please follow the instructions- do not use icing sugar or cornflower)
- Roll out fondant to approx. 5mm thick. You can use the guider rods to help you reach this thickness and evenly rolled
How to roll your fondant by keeping a circle shape
- Once you have kneaded (coloured optional) your fondant, roll it into a ball and slightly flatten it
- If you are rolling direct on top of your worktop - The fondant may stick to the surface so, sprinkle some icing only on the surface but not on your fondant as this can dry out your fondant or create elephant skin texture!
- Use your rolling pin to roll the fondant out twice and rotate (clockwise) quarter of the way around, then roll and repeat. This keeps your rolled out fondant in a round shape. DO NOT FLIP/TURN OVER YOUR FONDANT. Keep going until you have reached the approx. size and shape.
- Hover your cake board over the fondant to check you have rolled out the fondant big enough
- Spray or dab (with your pastry brush) the cake board with a little water – Don’t over soak your board
How to roll your fondant by keeping a square shape
- Once you have kneaded (coloured optional) your fondant, roll it into a ball and mould it into a square then slightly flatten it
- If you are rolling direct on top of your worktop - The fondant may stick to the surface so, sprinkle some icing only on the surface but not on your fondant as this can dry out your fondant or create elephant skin texture!
- Use your rolling pin to roll the fondant out twice and rotate (clockwise) quarter of the way around, then roll and repeat. This keeps your rolled out fondant in a square shape. DO NOT FLIP/TURNOVER YOUR FONDANT. Keep going until you have reached the approx. size and shape.
- Hover your cake board over the fondant to check you have rolled out the fondant big enough
- Spray or dab (with your pastry brush) the cake board with a little water – Don’t over soak your board
How to place the fondant on the board using the rolling pin
- Gently lift the fondant onto the rolling pin and drape it over the board
- Use the smoother and gently smooth the fondant over the board
- Lift the board with the fondant on top -Securing it with your hand and cut off the excess fondant with a sharp knife – the same method you use for trimming pastry
- Keep on smoothing until it is nice and smooth. If you get any air bubbles just pop them with a needle or and then smooth some more
How to place the fondant on the board using the rolling mat
- When you lift the mat the fondant stays stuck to the mat
- Carefully lift the mat with the fondant and lay both over the cake board
- Use the smoother and gently smooth the mat and fondant over the board
- Then with one hand tease the fondant from the mat and use the other hand to lift the mat away from the fondant
- Smooth the fondant over the board again
- Lift the board with the fondant on top -Securing it with your hand and cut off the excess fondant with a sharp knife – the same method you use for trimming pastry
- Keep on smoothing until it is nice and smooth. If you get any air bubbles just pop them with a needle or and then smooth some more
If you wish to emboss the board with lettering then do this now before you leave it to dry.
CONCLUSION
So, that’s it! Quite straight forward really.
In another article, I will show you how to use texture mats and texture rolling pins.