
WHAT IS A SEMI-NAKED CAKE?
A semi-naked cake is a sponge cake that has been very lightly frosted. It may also be decorated.
This article may contain affiliate links. As an Associate with Amazon and other companies, we may earn a commission if you click and purchase with one of our links. There’s no extra cost to you. Thanks!
Getting a good looking semi-naked cake is all about using the right frosting (see this article for how to make and frost a naked vanilla cake). Buttercream and whipped ganache frosting are both excellent choices.
HOW HARD IS IT TO MAKE A SEMI-NAKED CAKE?
A beginner can make a semi-naked cake!
This semi-naked cake has been decorated with just a couple of pieces of fruit and flowers. There’s almost nothing to it, but just these small details change it from a plain, undecorated semi-naked cake into a thing of beauty.
WHAT YOU NEED TO FROST A SEMI-NAKED CAKE
EQUIPMENT NEEDED
- Cake leveller (also called cake saw, cake cutter) - OR - a long bread knife
- Spatula
- Cake frosting scraper - OR - offset spatula - OR - non-bendy ruler
- cake drum / board / stand
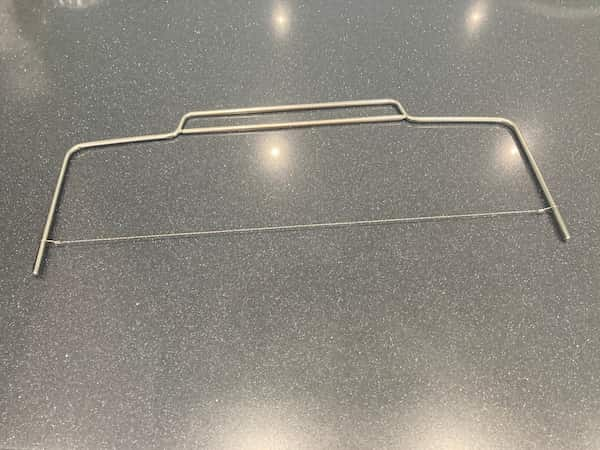
My cake leveller
A CAKE LEVELLER
If you plan to make more than one cake in your life, it’s worth getting one of these. They are not expensive and will take your cake from DISASTER! to DUDE I WANT ONE OF THOSE!
Apart from the equipment, you will need three more things to make, frost and decorate a semi-naked cake: a sponge cake, the frosting, and some decorations. We’re using fruit and flowers for decorations.
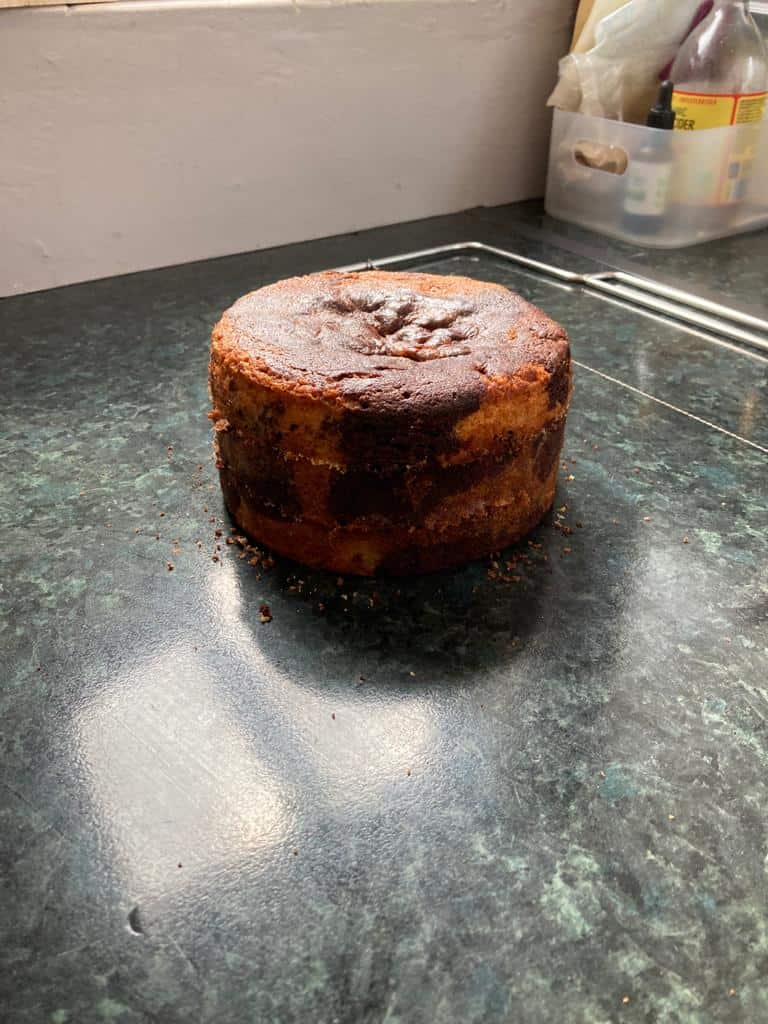
For this cake, we used half chocolate madeira batter and half the standard madeira batter, and made a marbled madeira sponge cake. Follow my fool-proof, step-by-step photo recipe for making the perfect madeira sponge cake - get it in this article.
Buttercream frosting is ideal to frost a semi-naked cake, but this semi-naked cake is a celebration of all things chocolate, so instead it uses a light, whipped ganache for the frosting and filling - see our comprehensive ganache guide in this article.
HOW TO FROST AND DECORATE A SEMI-NAKED CAKE
INSTRUCTIONS
Bake an 8″ round or square sponge cake (get the recipe for the perfect cake in this article) and let it cool.
Prepare the buttercream or ganache frosting - if using ganache, follow the instructions for ganache frosting in this article.
If necessary, cut the uneven top off the cake to make it level. A lop-sided cake is not a pretty thing, unless you’re trying to recreate the Leaning Tower of Pisa.
You could slice the top off with a long bread knife, but a cake levelling tool will do the job much better and more neatly. Cake levellers are very cheap - you can shop for one like mine here.
With this cake, the top wasn’t too lopsided so we didn’t need to slice it. It did have a little dip in it though (caused by a sudden change in oven temperature). This isn’t a problem as it can later be filled with frosting.
Often, you would turn the cake upside down before you frost it, to get a perfectly even top. However, for a semi-naked cake that is more or less even and will have soft frosting on top, you can get away with the odd dip or two!
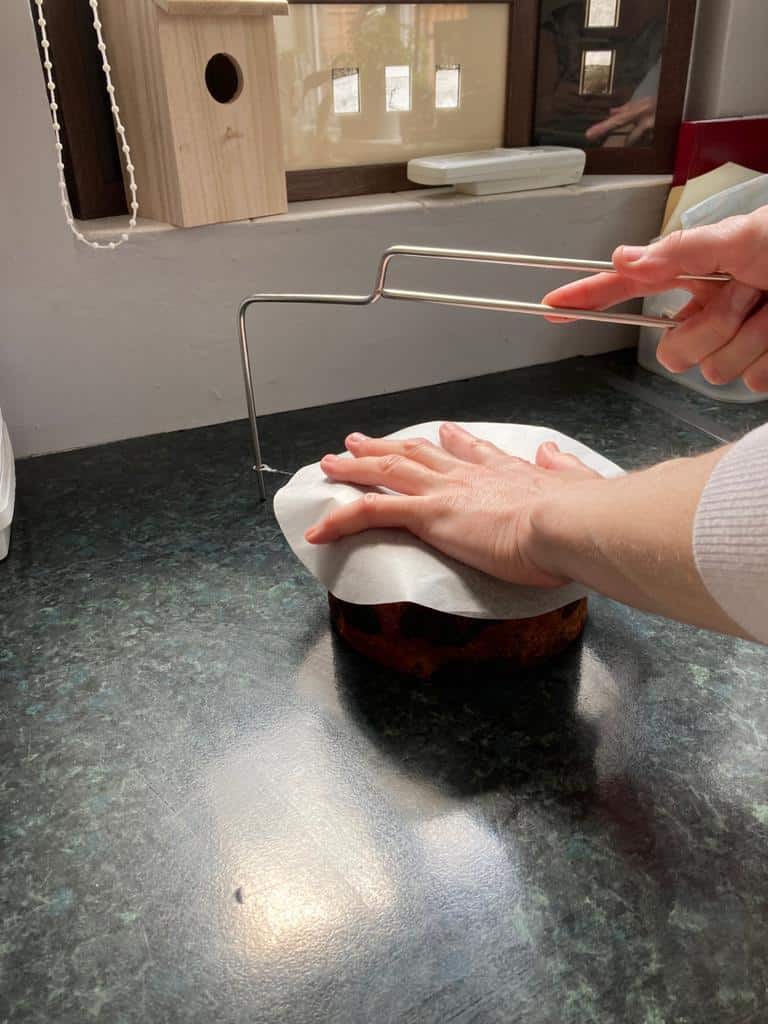
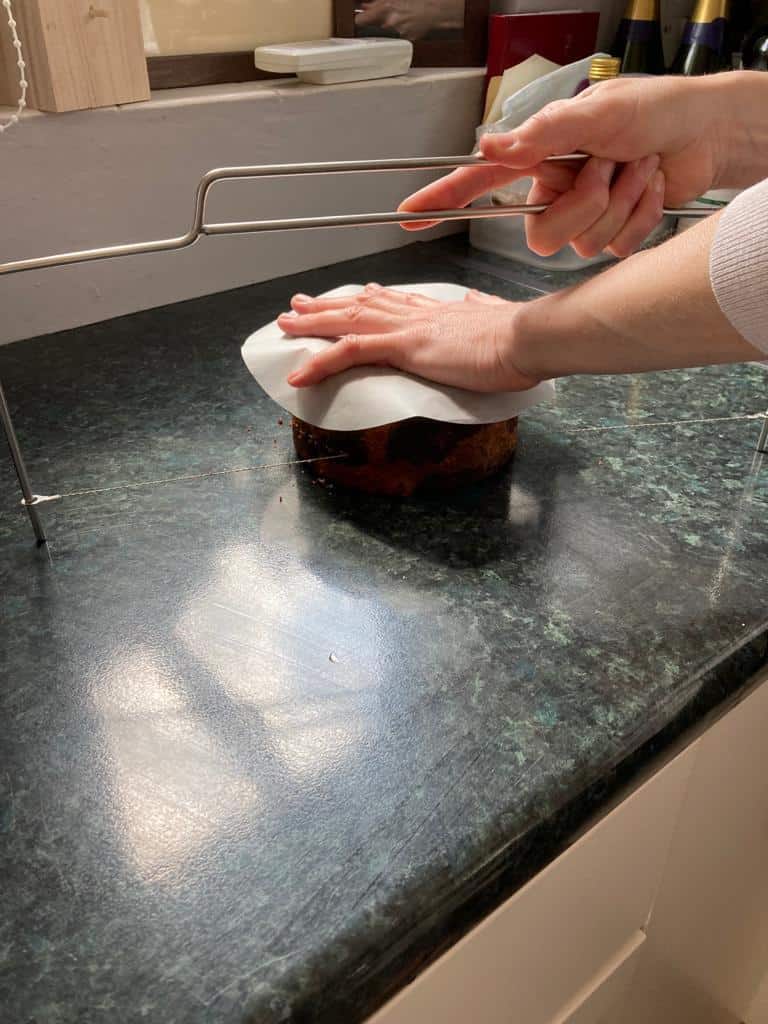
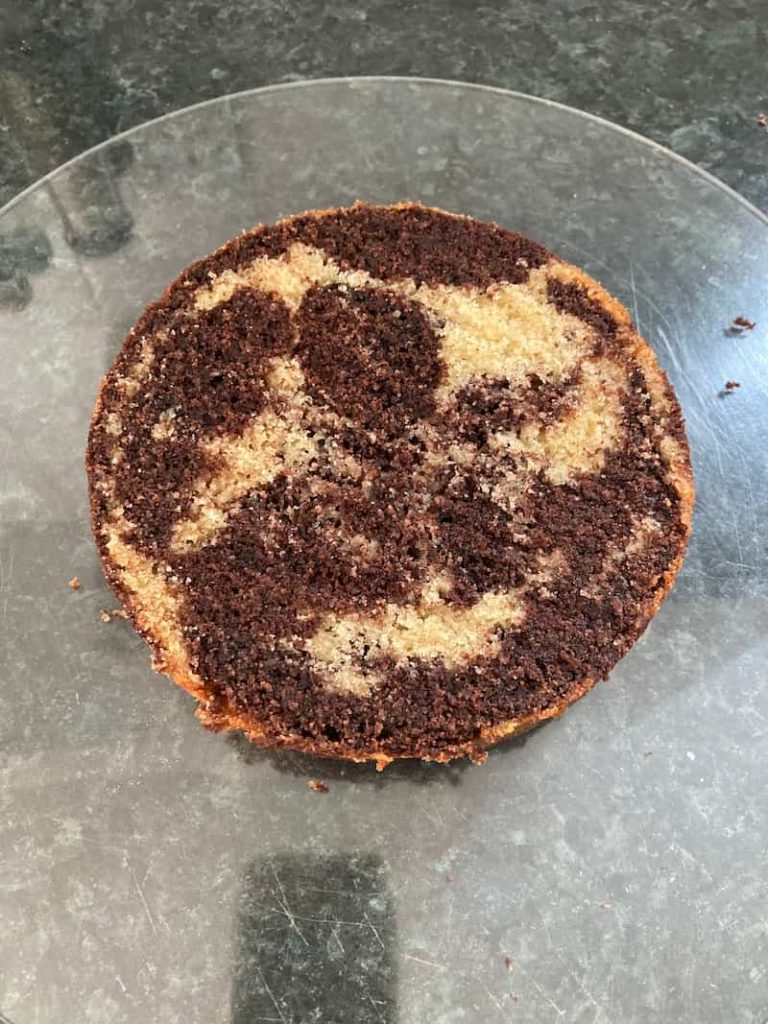
Put a piece of greaseproof paper on top of the cake. This makes it easier to cut the cake into layers - it’s less sticky on your hand!
Use the cake saw and cut the cake into 3 equally sized layers (pics 1-3). Put the cake back together lining it up as it was originally. That way, it keeps its shape better.
Add a big blob of frosting to the first layer (pic 5) and spread it out with your spatula (pic 6).
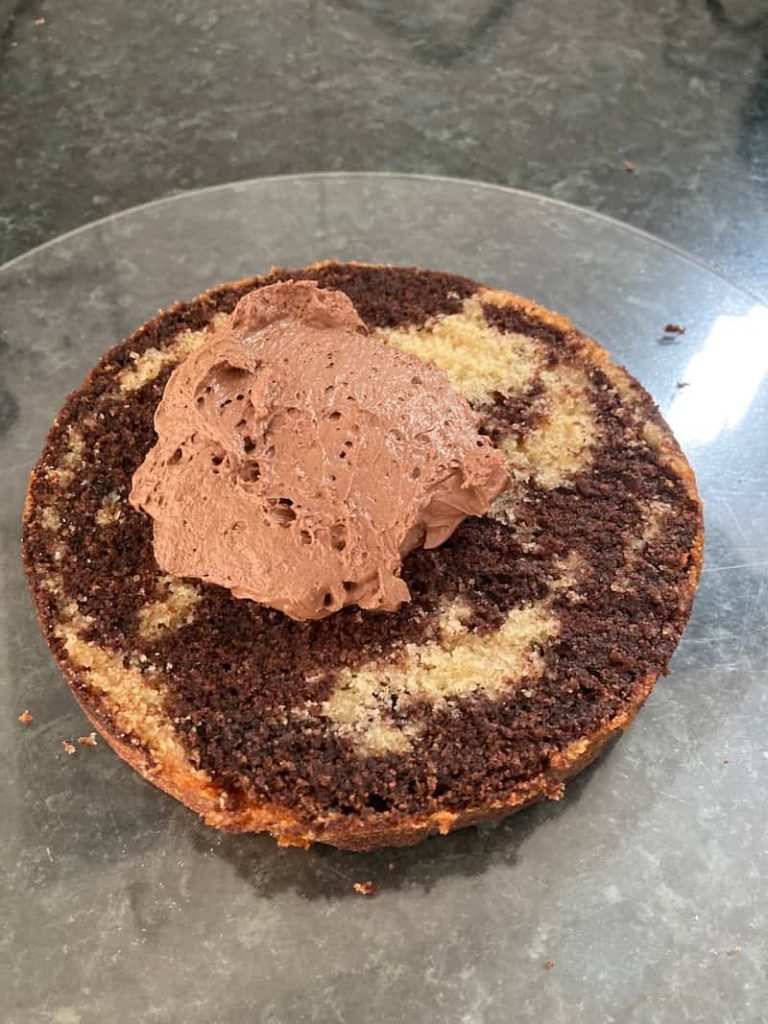
Put the second layer on, lining the two layers up. Don’t worry if some of the frosting squishes out. Repeat the process with the second and third layers (pics 7-10).
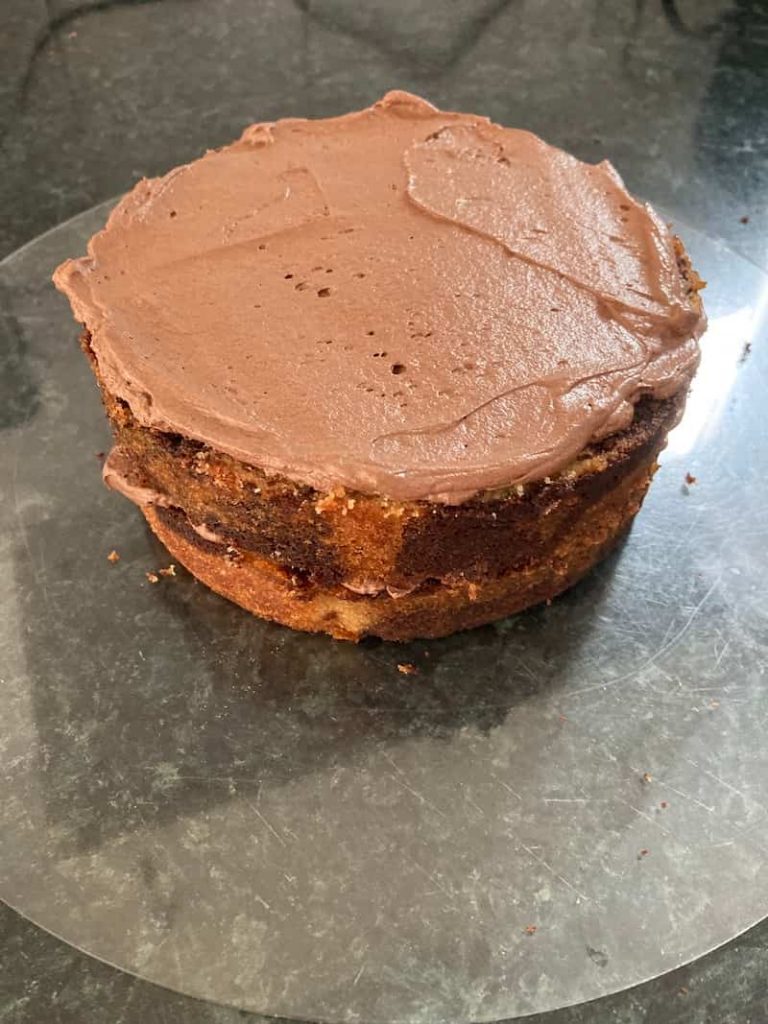
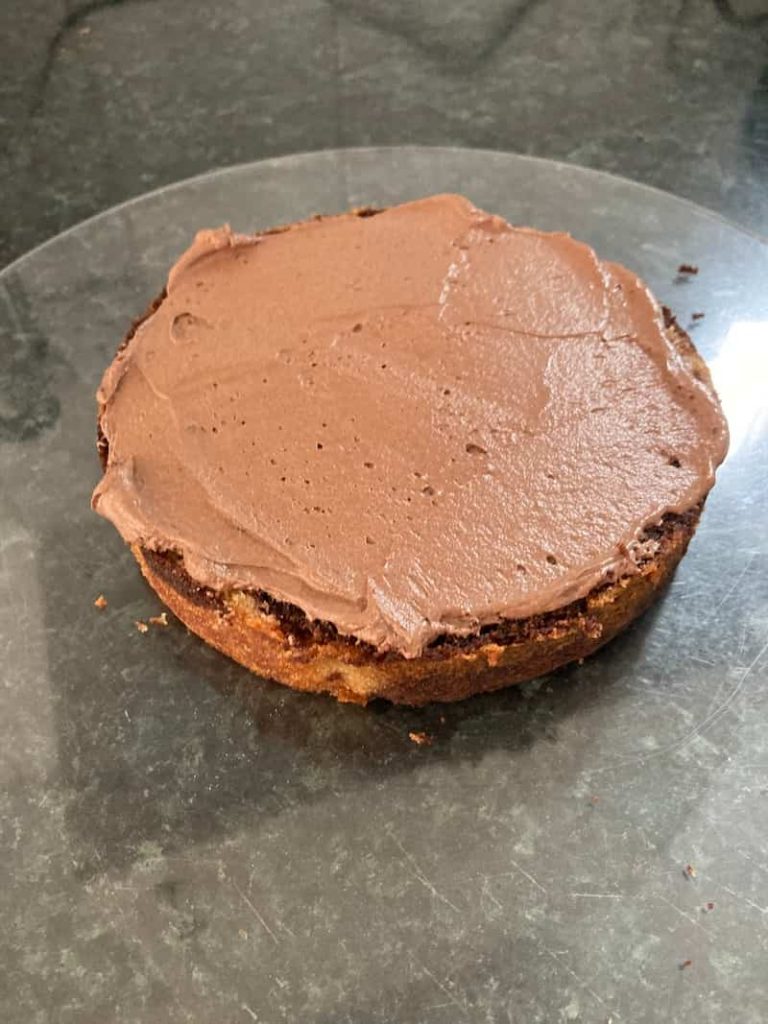
Using a spatula, cover the sides of your cake with frosting. If you can, use an angled spatula to spread the frosting on your cake.Don’t worry if it is thicker in places, you will be scraping most of it off (pic 11).
Use a scraper if you have one to remove the frosting from the side of the cake. Apply even pressure, dragging the scraper all around the cake, to leave a thin, smooth layer of frosting (pic 12). You should be able to see the colour of the sponge through parts of the frosting. There will be more frosting in some places and less in others. This is normal and it’s part of the charm of a semi-naked cake.
TIP: If you don’t have a scraper then you can use an off-set spatula or a non-bendable ruler instead.
TIP: take care not to apply too much pressure when scaping the excess buttercream off as you could tear your layers.
If you find that the cake sponge breaks through the frosting (pic 13), add a small blob of frosting and smooth over the area with the scraper again, but with a gentle pressure or you’ll pull up more crumbs (pic 14).
Once you’re happy with the sides, use the scraper to smooth the buttercream on top of the cake by placing the scraper at the centre of cake and scrape very lightly towards you. Turn the cake around and repeat until you are happy with the smoothness (pic 15).
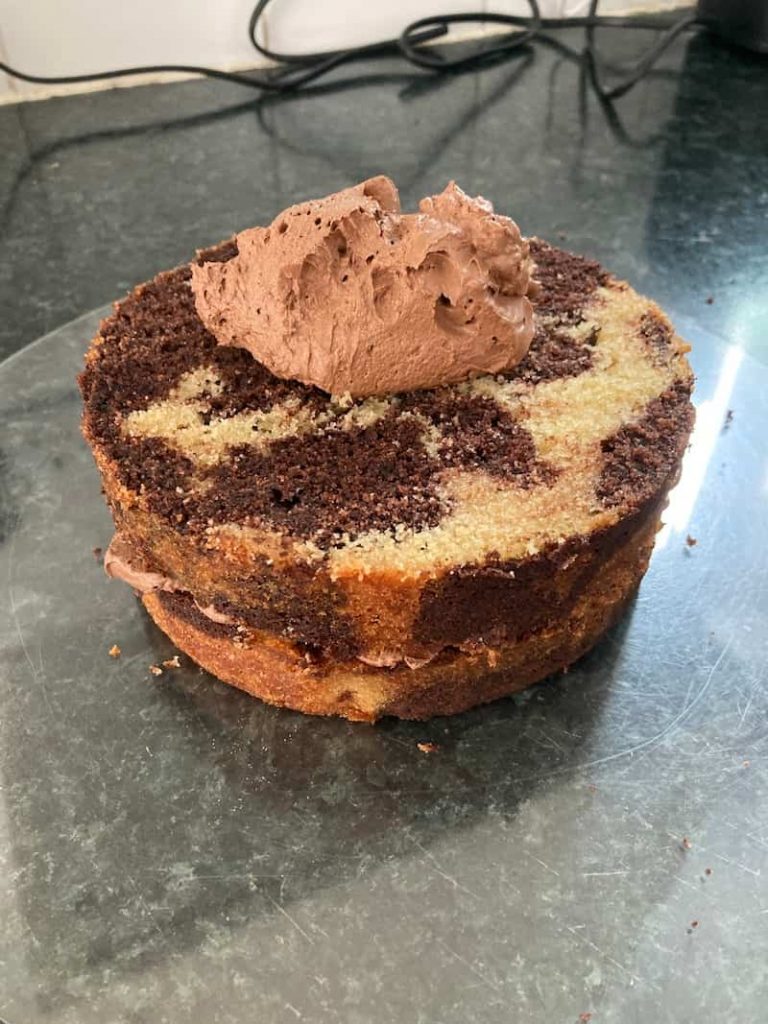
You now have a frosted, but undecorated semi-naked cake. To turn it into a beautiful semi-naked cake, let’s add some decorations!
To keep it simple, we used just 2 colours - red and black. A couple of strawberries and raspberries contrast beautifully with blackberries, as do the red rose and black pansy.
It’s important to wash and prepare flowers properly before adding them to a cake - see how to do this and a list of edible flowers you can use in this article.
You could put decorations only on the top to make it even simpler.
CONCLUSION
Decorating a semi-naked cake is not difficult and if you make mistakes you can easily go back and redo it or cover them up. Simple decorations turn a cake into a semi-naked masterpiece.
Have you tried making a decorated semi-naked cake? Let us know how it turned out!